So....I've been a bad blogger! I totally wore Kinetic Candy before I did this manicure, but didn't take any picture of it. Nope not even one. I will say that it's a great color, and the formula is like Sweet Hook from the same collection. However, I know that Kinetic Candy is one I will be wearing again, so I'll nab a picture then.
Another bummer.....I'm back to nail nubs :( After I took off Agro I noticed a hairline crack in one nail. Then as I was getting ready to put on Kinetic Candy, the nail fully broke. My slight OCD kicked in, and then all the nails had to go (this is a habit I've had since before I was a polish addict). This is another reason why there are no pictures of Kinetic Candy; I couldn't stand to take pictures of nubs :(
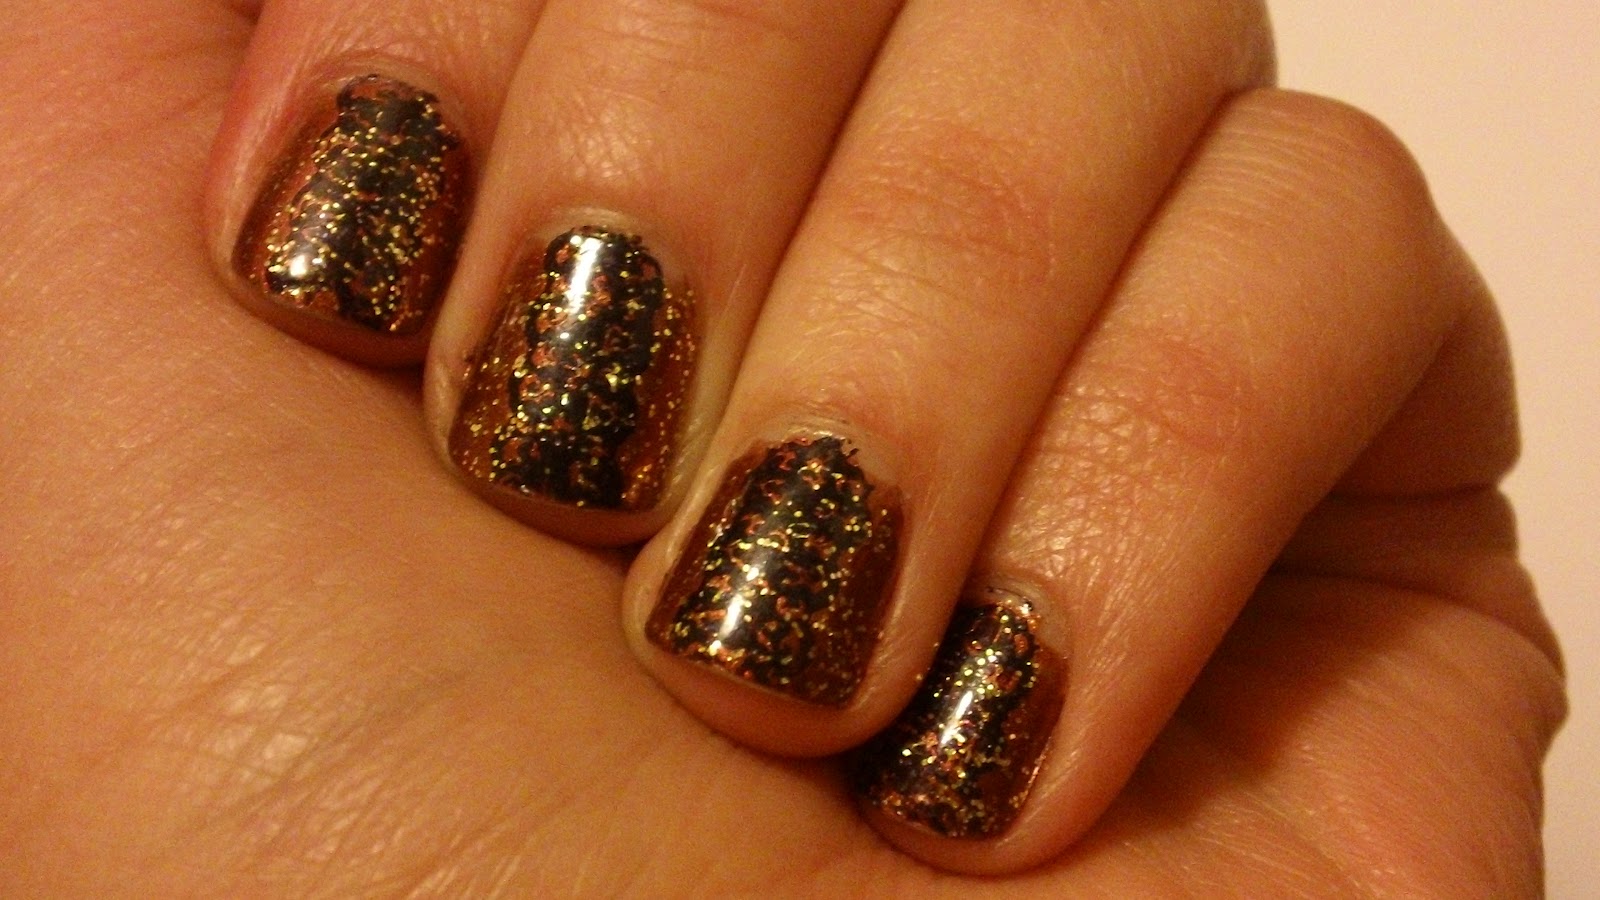
Anyway, on to the challenge mani! This week is a Ruffian style. I had to google this, and originally I was going to copy-cat a red and black look. Then over the weekend, I found some new Sinful Colors displays and changed my mind. I picked up Sinful's Cinderella and Glass Pink and used those as "undies" for Revlon's Whimsical and Starry Pink (I've also seen this called Popular). The Sinful "undies" have a TON of shimmer, that even shows through the Revlon!
Left hand
Right Hand
This turned out ok, but I'm not in love with it. My "ruffian lines" are uneven, but masked by the milky glitters on top. Then there is just so many layers......2 coats of the bottom color, 1 coat of quick dry topcoat, 2 coats of the top color, then the glitter coat, and another coat of quick dry topcoat (I'm currently using Sally Hansen Insta-dry). Oh, and then on top of that, I woke up this morning to bubbles. Also trying to cleanly paint nubs is a joke; even clean up sucked (as you can see...my nails look horrible in the pictures). I would have skipped the pictures until I could try to make them look better, but I have a feeling that this isn't going to be staying on long.
Ugh....At least I finally found "undies" for Starry Pink. I have been looking for a while, but hadn't found anything I liked.
Next time, I think I might show some of the polish strips I've been making.
-Lynnette
EDIT: This mani never. fully. dried! Even after I posted about it, this was still gummy and dentable. Yuck! Needless to say, this has come off to be replaced with Starry Pink over Glass Pink. Pictures to follow.